
Set the atmosphere
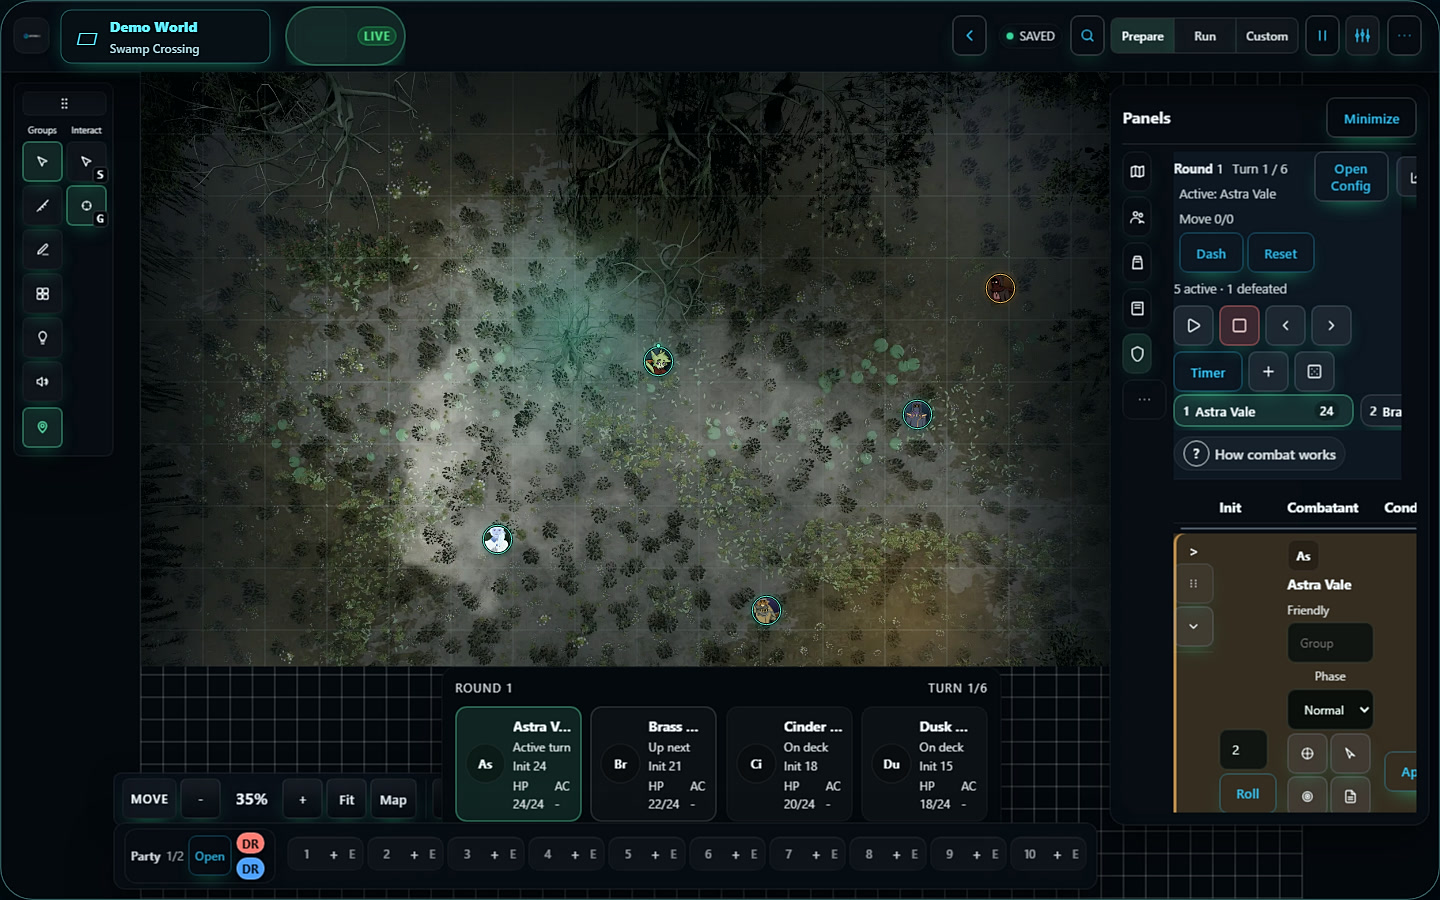
Still or animated maps. Walls, lighting, and fog that help you control what the party discovers.
Aethera virtual tabletop
Upload a map, add tokens and lighting, invite your group with a link, and play.
A place for your world, your characters, and the people who bring them to life.
Start free. No install, server setup, or credit card.
A seat at your table
Still or animated maps. Walls, lighting, and fog that help you control what the party discovers.
Move tokens, measure distance, follow initiative, and track conditions without leaving the scene.
Roll together in chat. Add playlists and sound zones, and connect your campaign to Aethera Voice.
The people behind the tokens
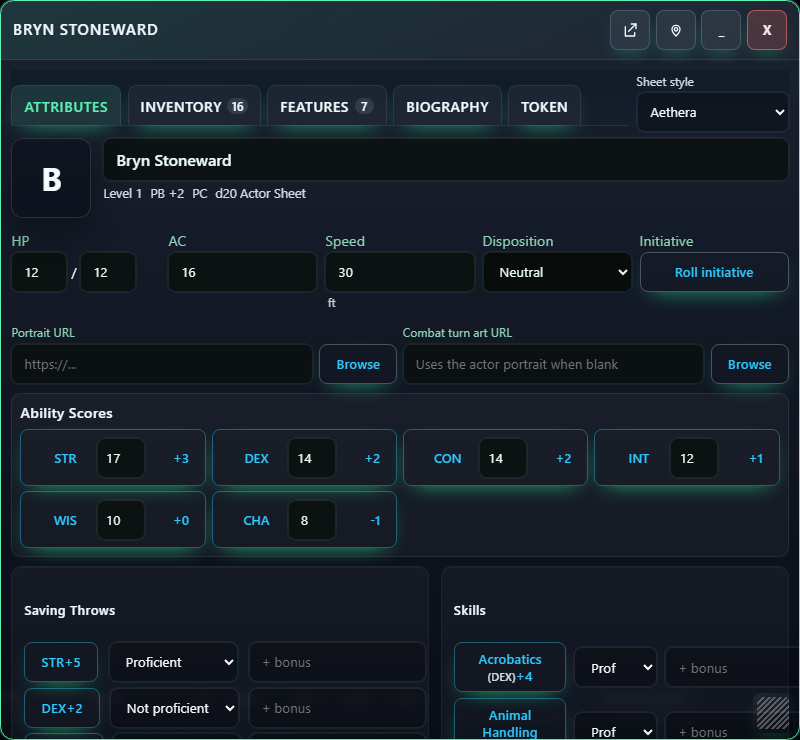
Attributes, equipment, features, and biography belong together. Open a sheet when you need it, give a player their character, and bring them into the scene.
From preparation to play
Organize scenes, actors, items, and journals before the session. Keep GM notes private and share handouts when the moment is right.
Explore the VTT referenceInvite the group with a link. Players join with a free Aethera account, and you control their roles and what they can access.
See the player quickstartReturn to your campaign's scenes, characters, and notes. Build on what happened last time as your world grows.
See what's newBefore you gather the party
No. The tabletop runs in the browser. Players sign in with a free Aethera account and open your campaign invite.
Yes. Use your own still or animated maps, then configure the scene's grid, walls, lighting, and fog. Check the map requirements for supported formats and upload guidance.
Hosting starts on Free with full campaigns and invites. Plus adds storage and larger per-file uploads; Pro adds advanced configuration. Players and invitees never need a paid plan. Compare host plans.
Yes. Open the live demo to explore a tabletop without creating an account. When you're ready to host, create your own free world.
A little guidance for the first session
Follow the player quickstart or the GM walkthrough at your own pace.
Your world. Your next session.
Start with your first map. Invite your people. See where the story goes.