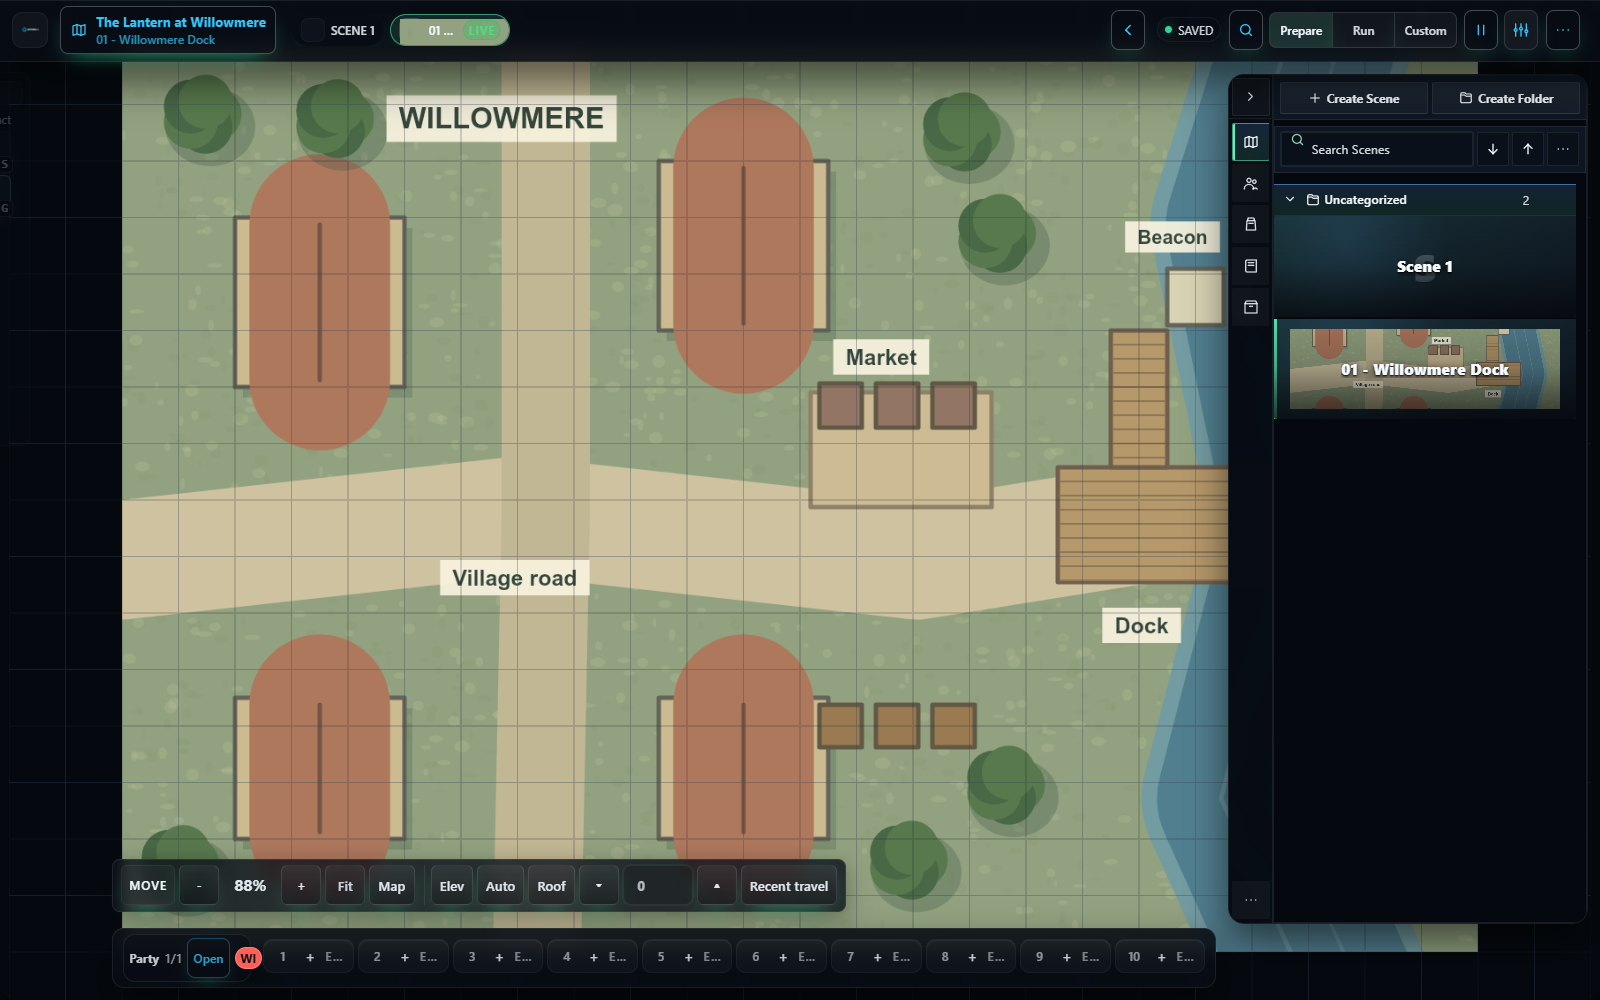
Build the first scene with the supplied map
Upload and choose the background
- In Scenes, choose Create Scene.
- Set Name to 01 - Willowmere Dock. The number keeps your locations in a useful reading order. You can leave Folder as Uncategorized.
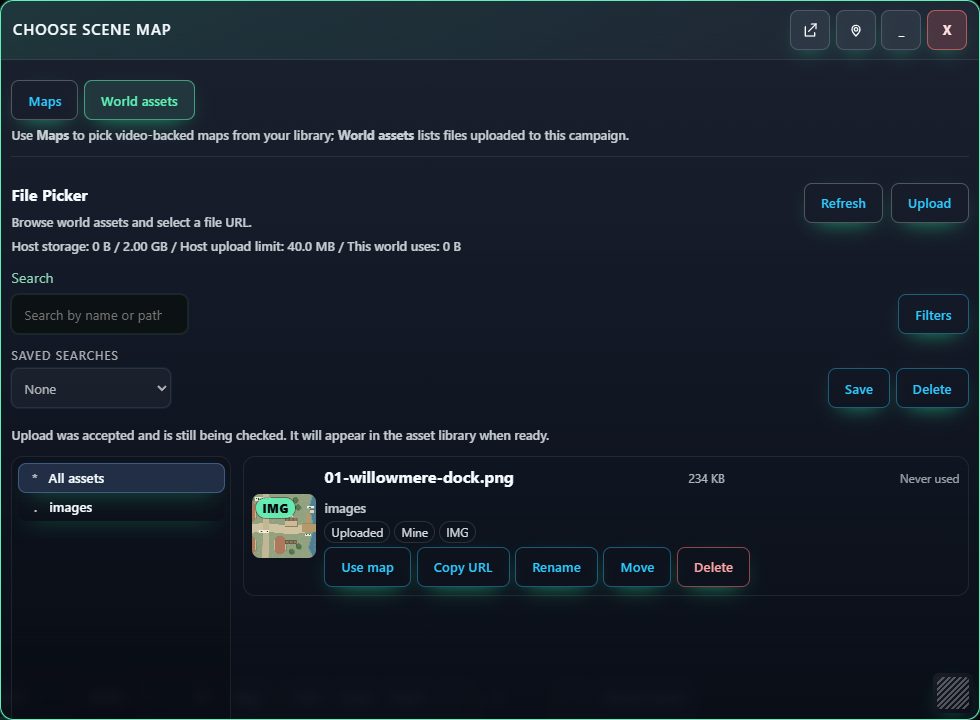
- Choose Browse maps, then the World assets tab. Use this tab for the PNGs supplied with this guide.
- Choose Upload and select
01-willowmere-dock.pngfrom the suppliedmapsfolder. - Read the Upload assets confirmation, then choose Upload there too. Selecting a file is not the final confirmation.
- Wait for processing. If the picker says the upload was accepted and is still being checked, wait and choose Refresh. Do not repeatedly upload the same file.
- When the file's thumbnail appears, choose Use map on that file. The scene-creation window now shows the map preview.
The map picker's Upload map image (PNG / JPEG / WebP) shortcut also opens this World assets upload flow. Use the same confirmation and processing steps.
Set the grid deliberately
- Open Adjust size or grid (optional).
- Keep Map scale (%): 100, Scene width (px): 1536, Scene height (px): 1024, and Keep map proportions checked.
- Set Grid: Square and Cell size (px): 64. Check these values even if you set world defaults earlier; a selected map or scene can suggest a different cell size.
- Leave both grid origins and both map offsets at 0. The preview should report 24 x 16 cells. Close the optional section to see the whole scene form again.
- Keep Lighting: Daylight, Visibility: Public, and Show in scene navigation checked for the opening dock scene. Here, Public means available to participants in your world; it does not make your private world a public internet listing.
- Keep Player start: GM preview, then choose Create scene. This lets you finish preparing the map before moving players to it.
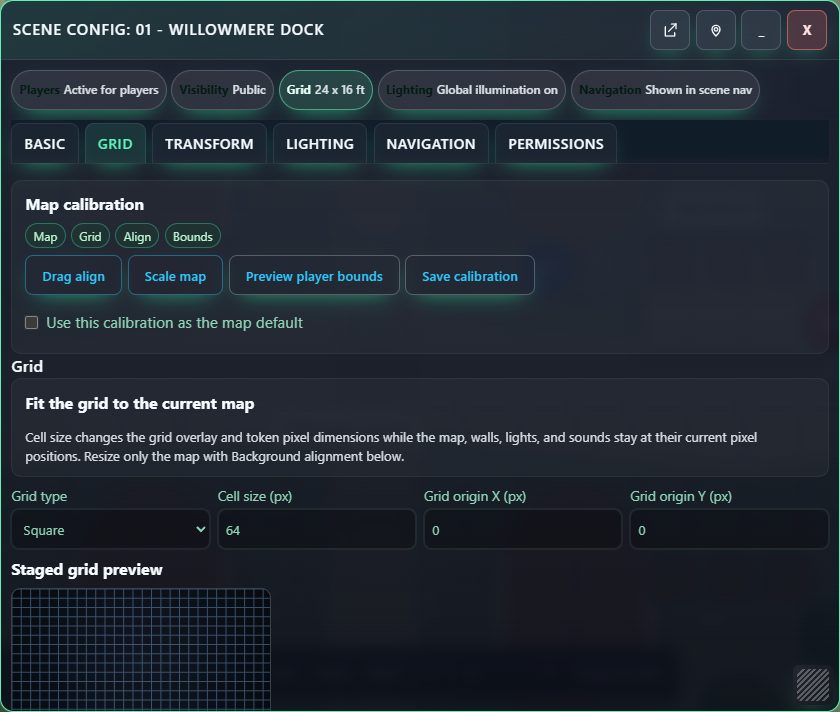
About "Grid not verified": detecting a picture's dimensions is different from detecting a printed grid. The supplied maps are designed for 64px cells; use those known dimensions and inspect the result yourself. If using another map with a printed grid, calibrate that map separately instead of copying our values.
Make the rehearsal easy to see
- In the Scenes list, open Scene actions for 01 - Willowmere Dock using the row's action button, then choose Configure.
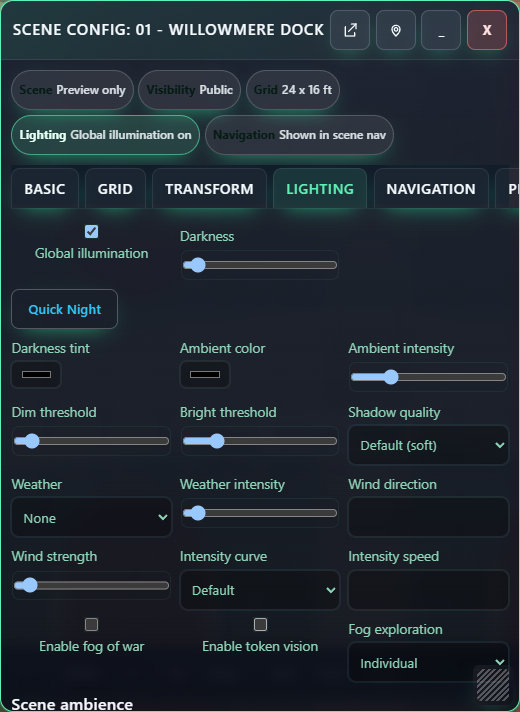
- In scene configuration, open Lighting. Keep Global illumination checked and Darkness at 0.
- Uncheck Enable fog of war and Enable token vision for this first exercise. Newly created scenes have their own lighting settings, so check them here even after changing the world defaults.
- Open Grid and verify Units: Feet and Distance per cell: 5. The source shape check should say the map and scene shapes match.
- Close the configuration window with its Close window button and wait for Saved.
The whole map is intentionally visible for the beginner rehearsal. Keep surprises in private notes and in the other scenes. Do not draw secret labels or put unrevealed enemies on this opening map.
Show the location to the group
Use the dock scene's action menu and choose Activate when you want it to become the group's active location. Read the Activate scene confirmation, then choose Activate once. View / GM preview changes what you inspect; Activate moves the group to that location.
Use Fit to bring the map into view. Look for the dock scene's Live label in the scene navigation.