Prepare the bridge and chapel
Repeat the scene-creation workflow for these two locations:
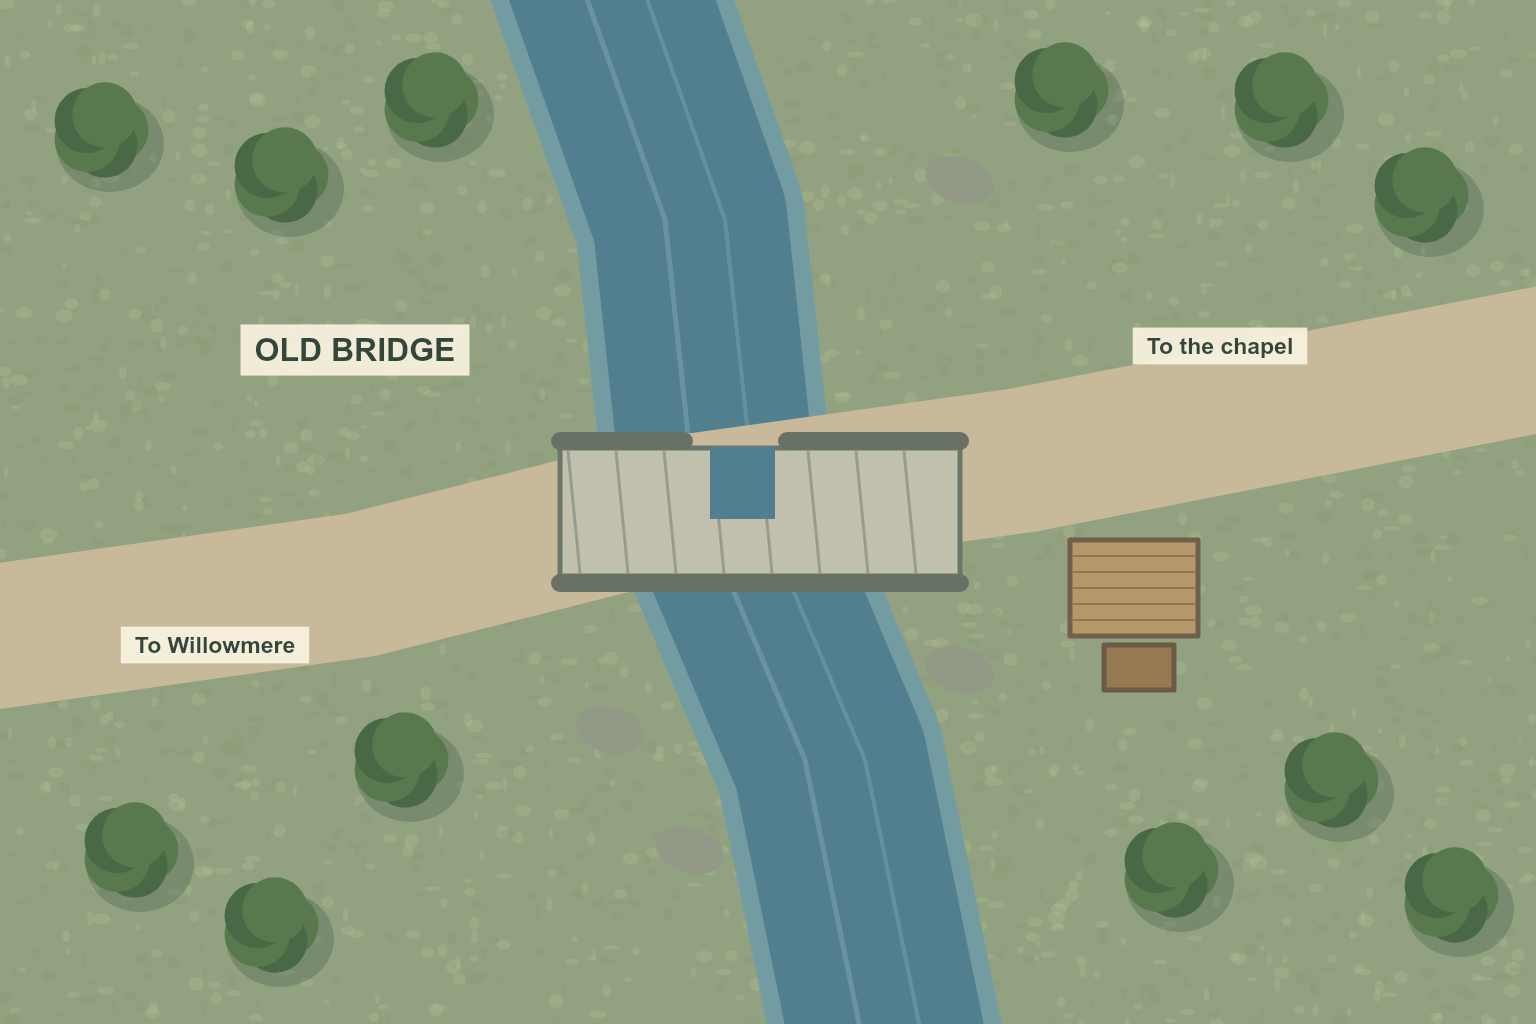
- 02 - Old Bridge uses
02-old-bridge.png. - 03 - Bellkeeper's Chapel uses
03-bellkeeper-chapel.png.
For each, upload through World assets, confirm the upload, choose Use map, and set 1536 x 1024 pixels with a 64px square cell. Both maps use 24 x 16 cells at 5 feet per cell. Keep them in GM preview while preparing.
Use Visibility: GM only and leave Show in scene navigation unchecked for locations you want to keep unrevealed. When the group reaches one, open its scene action menu and choose Visibility: Public. If navigation is hidden, choose Show in navigation, then activate the scene. The menu describes the action it will take; Hide from navigation means it is already shown. Chapter 10 checks this from the player's side.
Apply the same simple Lighting settings to each teaching scene: global illumination on, darkness 0, fog off, and token vision off. Once this basic campaign works, you can rehearse a separate scene with lighting and fog enabled.
The chapel's drawn stone walls do not block tokens or sight by themselves. For this first session, describe those boundaries and ask players to move through the doors. You can teach automated walls and vision in a later practice scene.
Keep the original Scene 1 as a scratch space if useful. Rename it to Practice and keep it GM-only before adding private test material. Your three adventure scenes should remain easy to identify in the directory.